Yesterday, 29th July 2016, the ST was sold. Future project had a deposit put on it today, collect it in a couple of weeks.
New blog to come. Contact me and I will send you a link to the new project.
Thank you to all for viewing the blog over the years.
Focus ST
This blog details the build progress of Dave's Ford Focus ST. Please feel free to add comments.
Friday, 29 July 2016
Friday, 3 October 2014
De-striped and detailed - 16 hour blitz
I had a bit of bad luck with some cement dust settling on the anthracite stripes and literally burning into the vinyl. The below picture shows the vinyl after a wash!
Anyway, it couldn't stay like that, so it was remove or replace time, so I removed the stripes and machine polished the whole car.
The process followed after the stripe removal was as follows:
1. Wet rinse and snow foam
2. Jet wash rinse
3. Spray whole car with Purple Rain 2.0 and rinse
4. Spray whole car with Just the Tonic and rinse
5. Wash thoroughly and jet wash rinse
6. Wipe each panel down with IPA
7. Machine polish 1x heavy cut
8. Machine polish 1x finish cut
9. Machine glaze
10. Apply Abyss & Project 32
Results
Oh and a final word of warning! Don't buy Meguiars DMC pads. Absolute rubbish.
Anyway, it couldn't stay like that, so it was remove or replace time, so I removed the stripes and machine polished the whole car.
The process followed after the stripe removal was as follows:
1. Wet rinse and snow foam
2. Jet wash rinse
3. Spray whole car with Purple Rain 2.0 and rinse
4. Spray whole car with Just the Tonic and rinse
5. Wash thoroughly and jet wash rinse
6. Wipe each panel down with IPA
7. Machine polish 1x heavy cut
8. Machine polish 1x finish cut
9. Machine glaze
10. Apply Abyss & Project 32
Oh and a final word of warning! Don't buy Meguiars DMC pads. Absolute rubbish.
Friday, 11 July 2014
New Decals - out with the old... in with the new.
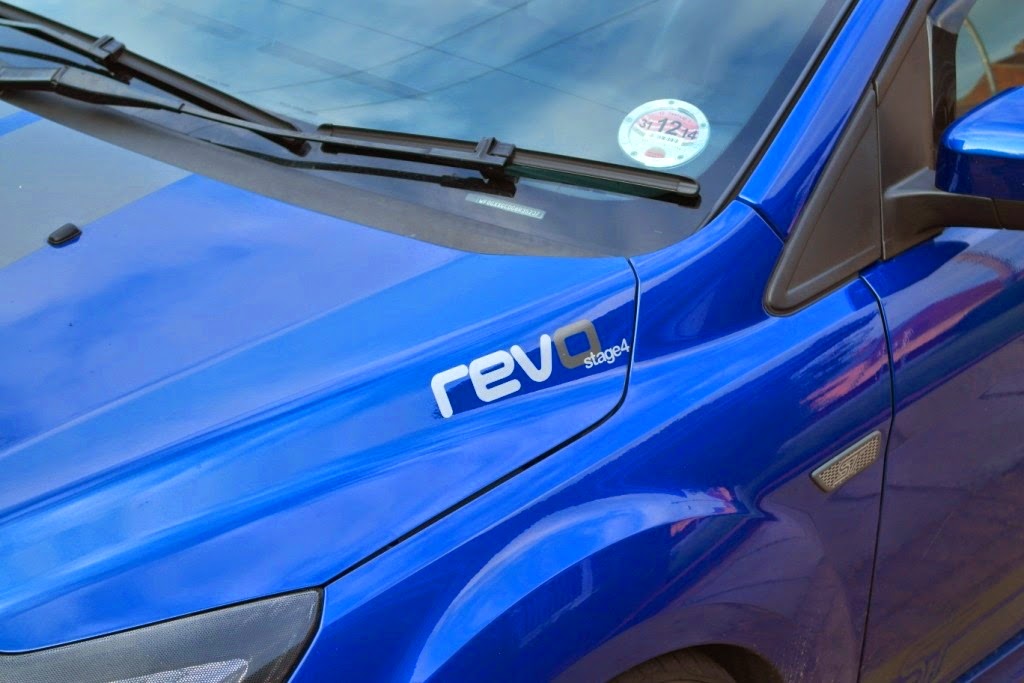
After having the RS conversion, I needed to swap out my decals. Prior to the conversion I was running a Collins Performance CP320 ST map, and now I am running Revo RS stage 4 map. Anyway, new decals provided by Ellis Graphix, pictures below:
Inlet Manifold
Old CP decal...
Rear Bumper (abover rear fogs)
Old CP decals...
Inlet Manifold
Old CP decal...
...and the new Revo one. I moved the AutoSpecialists gel badge onto the ECU cover too.
Rear Bumper (abover rear fogs)
Old CP decals...
...removed... left a bit of glue residue so out came the Autobrite JustTheTonic to clear the area.
...and the new ones
Notice the new blog address decal above the rear diffuser.
Close up...
Bonnet
Finally new decals placed on the bonnet.
Wednesday, 9 July 2014
Uprated Fuel Pump - to supplement RS Stage 4
NOTE: I have temporarily hidden all other posts from the past on this blog - a certain person seems to be using my blog as a "shopping list" to build his own car. STOP COPYING ME you unimaginative weirdo. I've left the RS Stage 4 conversion list for you to start saving your pennies.
Back to BD Performance this week for their uprated fuel pump. Definitely not a DIY job, as the fuel tank has to come off to access the pump. The BD solution upgrades the actual pump inside of the ST housing so it reads correctly on the dash, something I was 100% adamant on. The pump comes with a new pick up filter too, the original was a little dirty after only 35,000 miles. The car now feels much smoother when driving around at lower revs, and coming back from BD down the A500 I can tell the car is certainly stronger for having it fitted especially higher in the rev range.
Back to BD Performance this week for their uprated fuel pump. Definitely not a DIY job, as the fuel tank has to come off to access the pump. The BD solution upgrades the actual pump inside of the ST housing so it reads correctly on the dash, something I was 100% adamant on. The pump comes with a new pick up filter too, the original was a little dirty after only 35,000 miles. The car now feels much smoother when driving around at lower revs, and coming back from BD down the A500 I can tell the car is certainly stronger for having it fitted especially higher in the rev range.
Couple of pictures:
Tank off...
...and pump removed, the housing disassembled, new pump installed and filter added...
...and getting put back into the tank.
Saturday, 1 March 2014
Trip to BD Performance
Today I went for a blast over to BD Performance to pick up some parts, and to price up some work on the ST. The day was also a bonnet fitting day for NickSTparts, so a few Focus's turned up for various jobs.
Darren took the time out to speak to me in depth about my car and my plans for the next stage.
I took some pictures of the place too (my first visit), its a really nice setup, the workmanship looked of excellent quality, and Darren and Hannah are very welcoming. I'll be back in a few weeks!
Darren took the time out to speak to me in depth about my car and my plans for the next stage.
I took some pictures of the place too (my first visit), its a really nice setup, the workmanship looked of excellent quality, and Darren and Hannah are very welcoming. I'll be back in a few weeks!
Thursday, 27 February 2014
Quick Wash - New ABD Product, Ken Block cars, PC Switch
Off work today so gave the car a much needed wash. Car was really dirty but I only used Autobrite's new Purple Velvet shampoo.
Ken Block cars mounted on the passenger arm rest.
Also fitted a manual power switch for the car PC. So now it is auto and manual. This has been mounted in the existing stereo stalk.
Boot build now easily accessible, showing new Stinger leisure battery off the split charge relay. Shown from inside the car with rear seats down.
Sunday, 9 February 2014
Car PC mk4 - New Motherboard, & Windows 7
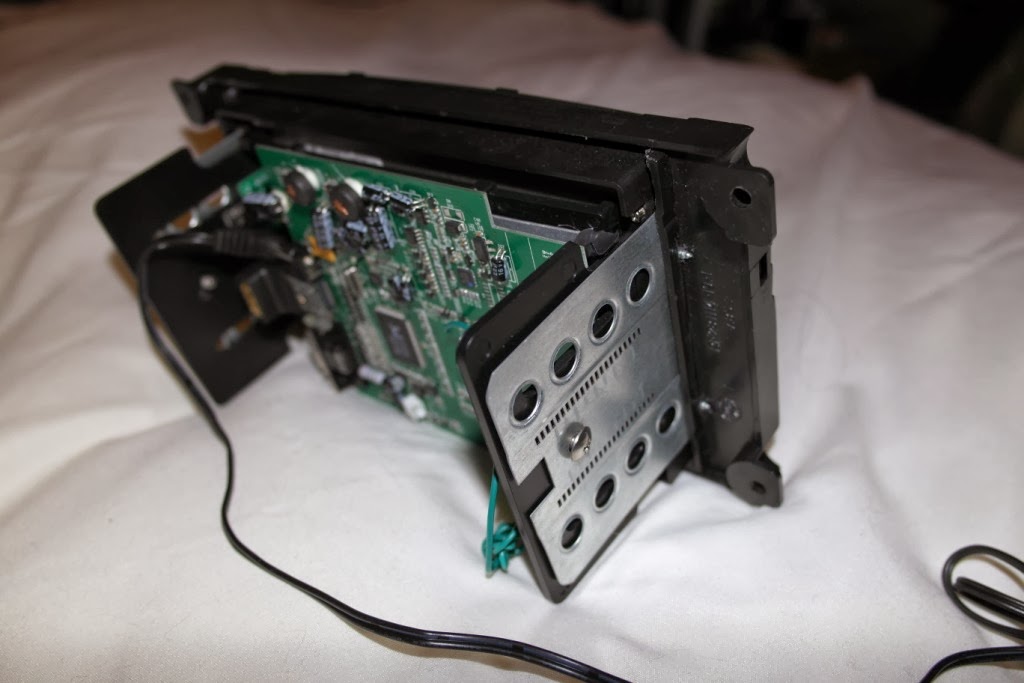
Over the past couple of days I have finally got round to upgrading the XP Ice OS to Windows 7. The motherboard has also been changed to a Zotac, this thing would put most home PCs and laptops to same, quad core, 4Gb DDR3 RAM, dedicated graphics - all to run a simple .net front end, a media player, and Sat Nav software. Bit overkill especially when teamed with the SSD drive, but its a necessity to be very very fast. The new board has built in bluetooth and built in wi-fi.
I also had to change my Sat Nav software, I didn't know before I started, but Garmin have stopped accepting registrations for their MobilePC software, they have turned off their servers and the software will not start without registration. However...... I did a bit of research and found this!!
http://www.mapfactor.com/en/products/navigation-software-standard/navigator-11/
Its a FREE Sat Nav software that is open source and is primarily for Android but they have a Windows 7 version! I haven't done a lot of miles on it yet, but it looks a really well thought out program, more menu options than the Garmin and works with my Maplin GPS receiver!
The Board
Test Rig with Twin SSD
The Memory
New Loom
The new board is a 24Pin power connector, however my car PSU output only a 20Pin. This loom converts 20-24Pin.
The Screen (changed power to Molex so I run from the motherboard)
All the Parts - Ready to Fit
Boot Tests on Touchscreen
Fitted
Subscribe to:
Comments (Atom)


